Showing posts with label food and recipes. Show all posts

Friday, 5 August 2011

this moment: the s'more the merrier

A Friday ritual. A single photo - no words - capturing a moment from the week. A simple, special, extraordinary moment. A moment I want to pause, savor and remember.


inspired by amanda soule

Monday, 1 August 2011

recipe: blueberry herman pancakes


My grandparents had a little cabin in the North Woods of Minnesota. As a child, I did not realise how lucky I was to have the experience of spending long, lazy days on an unspoiled lake at the edge of an endless forest. It wasn't fancy. 'Having a shower' meant slinging your towel around your neck and descending the hill to the lake, where you'd hang your head over the edge of the dock, counting to ten before plunging it into the icy water. 'Using the facilities' meant picking your way through brambles to the little leaning-over outhouse, praying that you would niether collect splinters in your bumcheeks nor become the victim of a marauding bottom-biting spider.


But it was the stuff memories were made of: learning to play gin rummy, baking kolaczki with Grandma, canoeing out to the island and toasting s'mores on the campfire. And there was a special treat for a child growing up in the tropical heat of Florida - blueberry-picking. Those dusky, purplish marbles we plucked from scratchy bushes seemed so exotic to me. I savoured every berry, popping each one into my mouth and rolling it around on my tongue before squishing the juice out sharply between my teeth.


When I first came to England, blueberries were hard to find. But now, like most things, they are readily available in the supermarket (during the summer months, at least). I bought two punnets the other day. When the impatient children had given up on begging to eat them right away, I sneaked a round little berry into my mouth. Pop! Not quite as sweet and juicy as I remembered. But close.


Blueberry Herman Pancakes with Blueberry Syrup
The sour Herman starter, buttermilk or plain yoghurt balances the sweetness of the syrup and the sharpness of the blueberries.
makes about 16 4-inch pancakes

for the pancakes
2 C plain/all-purpose flour
1 1/2 tsp baking soda
2 tsp baking powder
1 tsp salt
1 tbsp white sugar/honey/barley malt syrup/sweetener of your choice
1 C Herman starter (if you don't have any starter, you may substitute buttermilk or live yoghurt)
2/3 C vegetable oil
4 eggs
1 C milk
1 C blueberries

Sift the dry ingredients into a bowl. Mix the wet ingredients, including the Herman starter, in a large glass or ceramic bowl. Stir dry ingredients into the wet mixture, mixing well - don't worry if your batter is lumpy. The batter may be used right away, but it improves if left for at least half an hour and can be kept, covered, in the fridge for a couple of days.

Preheat your pan (I like to use a well-seasoned cast iron skillet) to a medium heat. You should not need to oil your pan because there is oil in the batter. Drop 1/3 of a cup of batter into the centre of the hot pan.  Right away, drop 6-10 blueberries into the batter in the pan. When the top of the pancake is full of little bubble holes, use a spatula to turn it over and cook on the other side for 30 seconds or so. Pour syrup over and eat immediately, or keep warm in the oven until all your pancakes are ready.

for the blueberry syrup
1/2 C blueberries
1C golden syrup (or maple syrup if you're feeling indulgent)
1/8 C water

Place the water and the berries into a small saucepan on a medium heat. Cook until the berries begin to break down. Reduce heat to lowest setting and add the syrup. Stir and keep warm until needed.

Thursday, 19 May 2011

recipe: elderflower cordial

It's funny. I hated Chemistry when I was at school (except for the teacher - he was newly qualified, only a few years older than us and quite dishy, heehee), but I am absolutely fascinated by it now. If only we had studied the chemistry of fermentation, of baking and of getting the right pH levels to grow blue hydrangea instead of pink, I'd have been hooked.

This week, in preparation for making the first batch of elderflower cordial of the season, I read up a bit on the process, and I'm happy to say I finally understand the role of citric acid in the recipe. If you have a look at the comments on this very informative blog post, 'The Elderflower Man' explains exactly why it is so important. The other thing I hadn't realised is that it can be difficult to find citric acid. I buy mine from an independent grocery shop in Totnes called The Happy Apple, but I understand it is often available in chemists, and sometimes from larger chain grocery stores. I have made elderflower cordial without citric acid, and I wouldn't recommend it. The resulting cordial is not only far too sweet, but it lacks that refreshing tartness that enhances the elderflower flavour so beautifully.
 As always, if you are foraging, look for elders that are unsprayed and are away from pollutants such as busy roads. We try to collect on a dry day, picking the flowers with about four inches of stem left on them, and using them within 24 hours (though they should keep for a couple of days in the fridge).

Here's the recipe I use (no idea where it came from, as I first used it about 16 years ago!):

Elderflower Cordial
yield: approximately 3 70cL wine bottles
100g elderflowers
1.8kg sugar
75g citric acid
1 orange, zested and sliced
1 lemon, zested and sliced
1.2 litres water

When I am ready to make the cordial, I prepare my flowers by snipping off as much of the stem as possible and giving them a quick sluice in a bowl of water to remove any bugs. The Elderflower Man says you shouldn't wash them because it is the pollen that imparts the most flavour, but unless you are picking flowers from your own garden you might be happier giving yours a quick dip. I certainly haven't noticed the flavour to be any less full than commercially prepared cordial.
Put the water in a saucepan on a low heat and pour in the sugar. Turn off the heat and gently stir until all the sugar has dissolved. Place the elderflower heads, the sliced lemon and orange and the zest into a large glass bowl and pour your sugar syrup over it all. Stir in citric acid. At this point, I use a very clean wooden spoon to press all the flowers and fruit under the syrup. Cover the bowl loosely and leave to infuse overnight or up to two days.
Strain the mixture through muslin (I boil the muslin for a few minutes before this step to ensure it is very clean, though this is probably not necessary). Pour strained cordial into sterilised bottles. Again, you don't *have* to sterilise them, but it never hurts to be scrupulously clean when preserving anything. I save screw top wine bottles for this, as I think the green glass helps to prolong the life of the cordial and both the bottles and the screw tops can be sterilised and re-used again and again. My hubby certainly doesn't mind helping me to procure bottles! Label with the contents and the date. Try not to give too many bottles away as presents, which is what I did last year.
For a refreshing, summery drink, add 1 part cordial to 8 parts still or sparkling water, or to taste. Drizzle cordial over ice cream. Whisk cordial into salad dressing or marinade. Add cordial to vodka, gin or champagne. Just try to restrain yourself from swigging it straight from the bottle!
(gratuitous, self-indulgent, arty-farty photo)

Friday, 1 April 2011

recipe: wild garlic pesto

Things have been a little quiet around here as we have navigated our way through a sea of illness. A very nasty headcold has worked through the children and me, and has resulted in a chesty cough that has kept us from work and school for a few days. We've had an amazingly healthy winter season, so this first-week-of-Spring sickness caught us by surprise.
Last week, though, just before we started dropping like flies, we went on our first foraging adventure of the new season. Wild garlic grows abundantly across Devon - our wet, warm climate and forested areas create ideal conditions for this pungent relative of cultivated garlic to thrive. For the next month or so, wherever you go in our area you will be overwhelmed by the heady scent. Towards the end of the garlic season, forest floors will be carpeted in the spangled white flowers that dance above the long green leaves. Wild greens are packed full of vitamins and minerals - they are generally even more healthy for us than cultivated greens.
We took a bag to a local spot away from roads to collect the first fresh garlic leaves to make pesto.

If you don't have access to wild garlic, you could substitute rocket, chard, dandelion or any other green...just add more garlic cloves to the mix. I use a hand blender to make mine, but you could just as easily use a food processor or a standard blender, or, if you have the time and the muscle, you could make an even more flavoursome version using a pestle and mortar.
Wild Garlic Pesto

large bunch of wild garlic leaves
1 cup nuts (walnuts, almonds, hazelnuts, pecans, pinenuts or any combination of nuts you like)
3 cloves of cultivated garlic
3/4 cup of extra virgin olive oil
1/4 - 1/2 teaspoon of sea salt (taste as you season; you will need more or less depending on how salty your cheese is)
1 cup of freshly grated parmesan cheese (pecorino works fine, and is a little less expensive)
Wash the garlic well and pat dry - I put all the leaves in a big bowl of water, agitate, drain and repeat. Don't collect garlic leaves near roads or other sources of pollution and look for patches that are away from the edges of paths (you don't want leaves that have been urinated on by passing dogs!). Put the nuts on a baking tray and place in a medium oven for 5-10 minutes, or until they just start to colour (watch them - the moment you look away they will burn!). Remove from oven and allow to cool for a few minutes. Meanwhile, put garlic leaves and garlic cloves in your blender jug with 1/4 tsp of salt and 1/4 cup olive oil. Blend for a few seconds to begin breaking leaves down. Add nuts and another 1/4 cup oil and blend to a smooth paste. Add more olive oil as you blend to keep a loose paste consistency. When evenly blended, stir in the grated cheese. Add more salt if necessary. Makes approximately two cups.
You can now either decant into a very clean jar, pressing pesto down to remove any air pockets, and top with one centimeter of olive oil (the oil will exclude oxygen from the pesto, preserving it longer), or spoon into an ice cube tray and freeze. The fresh pesto will keep for up to three weeks in the fridge (perhaps longer if you ensure it has a layer of olive oil) or 6 months in the freezer (heck, it'll probably keep forever in the freezer!). Freezing it in cubes means you can just take out what you need.
We like our pesto on hot pasta with chopped tomatoes and white beans or smeared over pizza bases and topped with goats cheese. The fresh, uncooked pesto is quite spicy, but once cooked through becomes mild. Leftover fresh leaves can go into your salad to be eaten raw (the flowers look and taste beautiful, too), can be wilted through hot pasta or chopped and sprinkled over scrambled eggs.

Just make sure you're not planning any passionate kisses after eating this!

Monday, 11 October 2010

got apple juice?

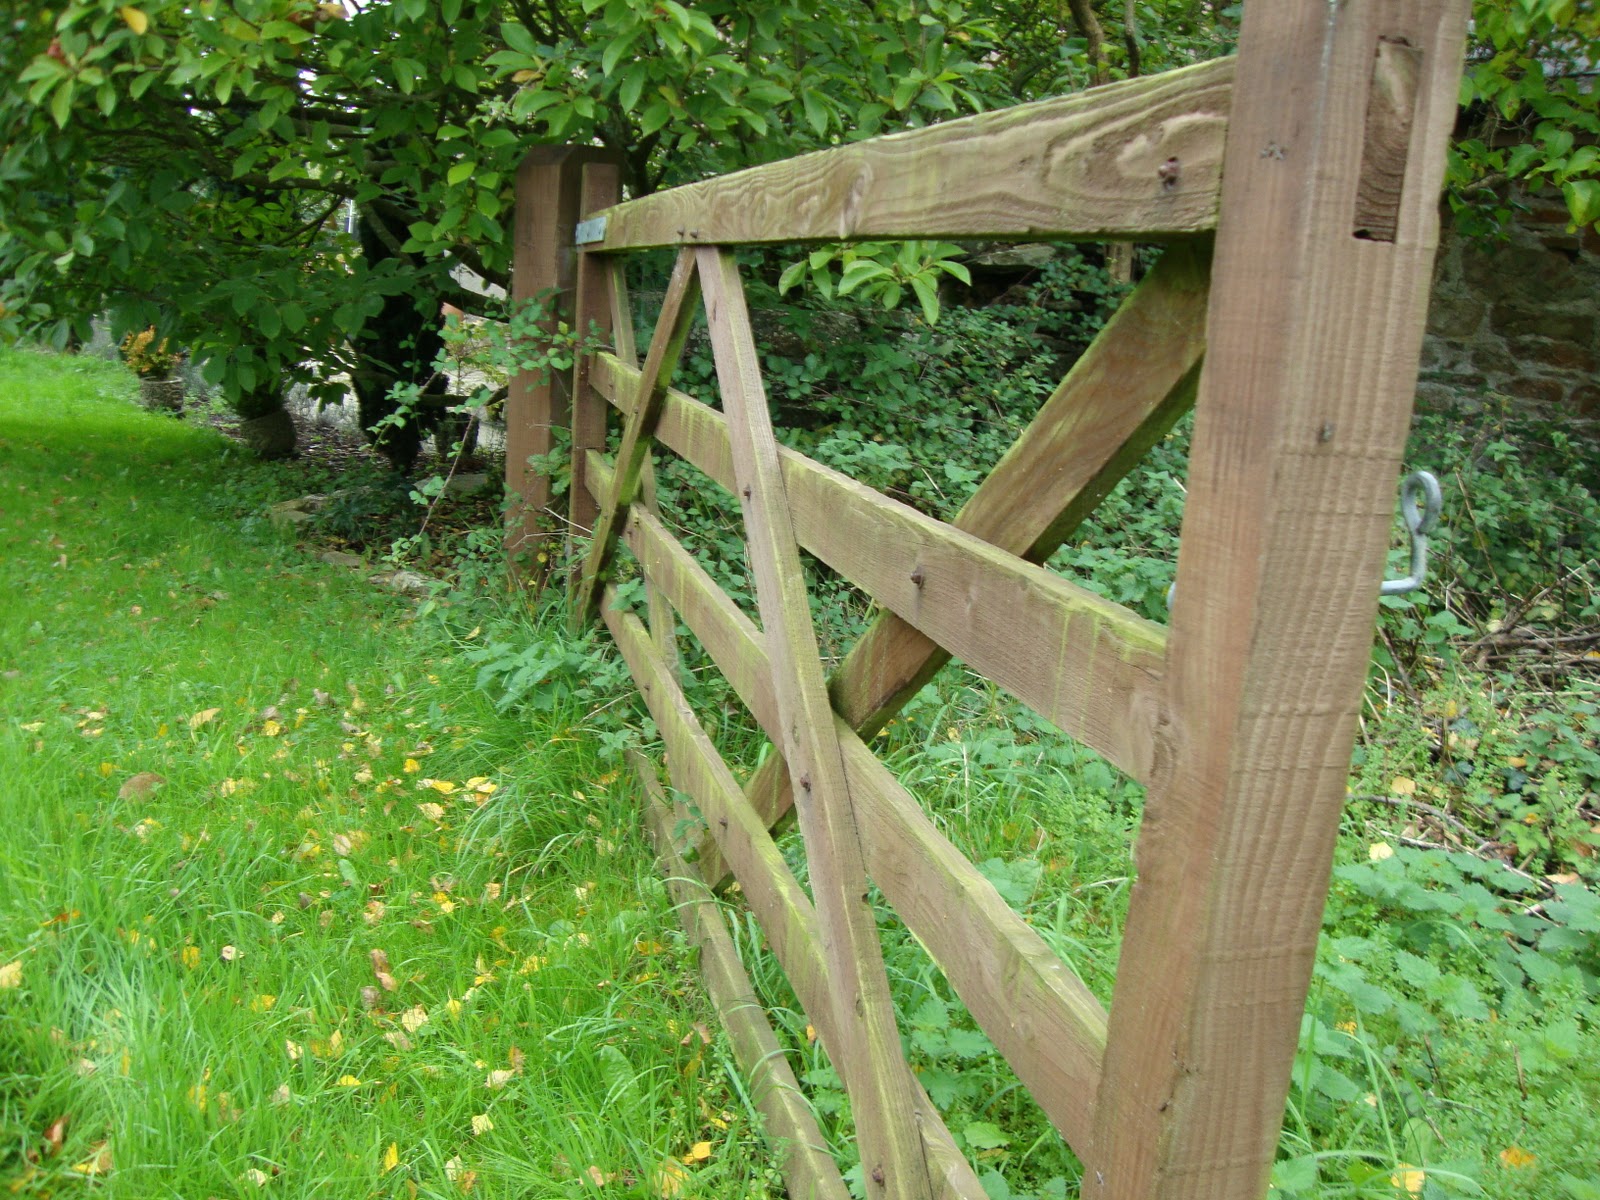
Go through the gate...

...with a burlap sack...

 ...and fill it with as many apples as you can carry.

 Take your apples and your crate of well-washed wine bottles to the place...

 ...where the magic happens.

Get your apples ready...

...for sorting and washing.

And when they are glistening wet and squeaky clean, feed them,

one by one or in handfuls, to the Gobbler.

A few may tumble to the ground. Never mind.

The important thing is the pulp the Gobbler spits out,

for that is what goes in the press, is layered and stacked, and is then weighted down.

Great strength (or just great determination) squeezes every last drop of juice from the pulp.

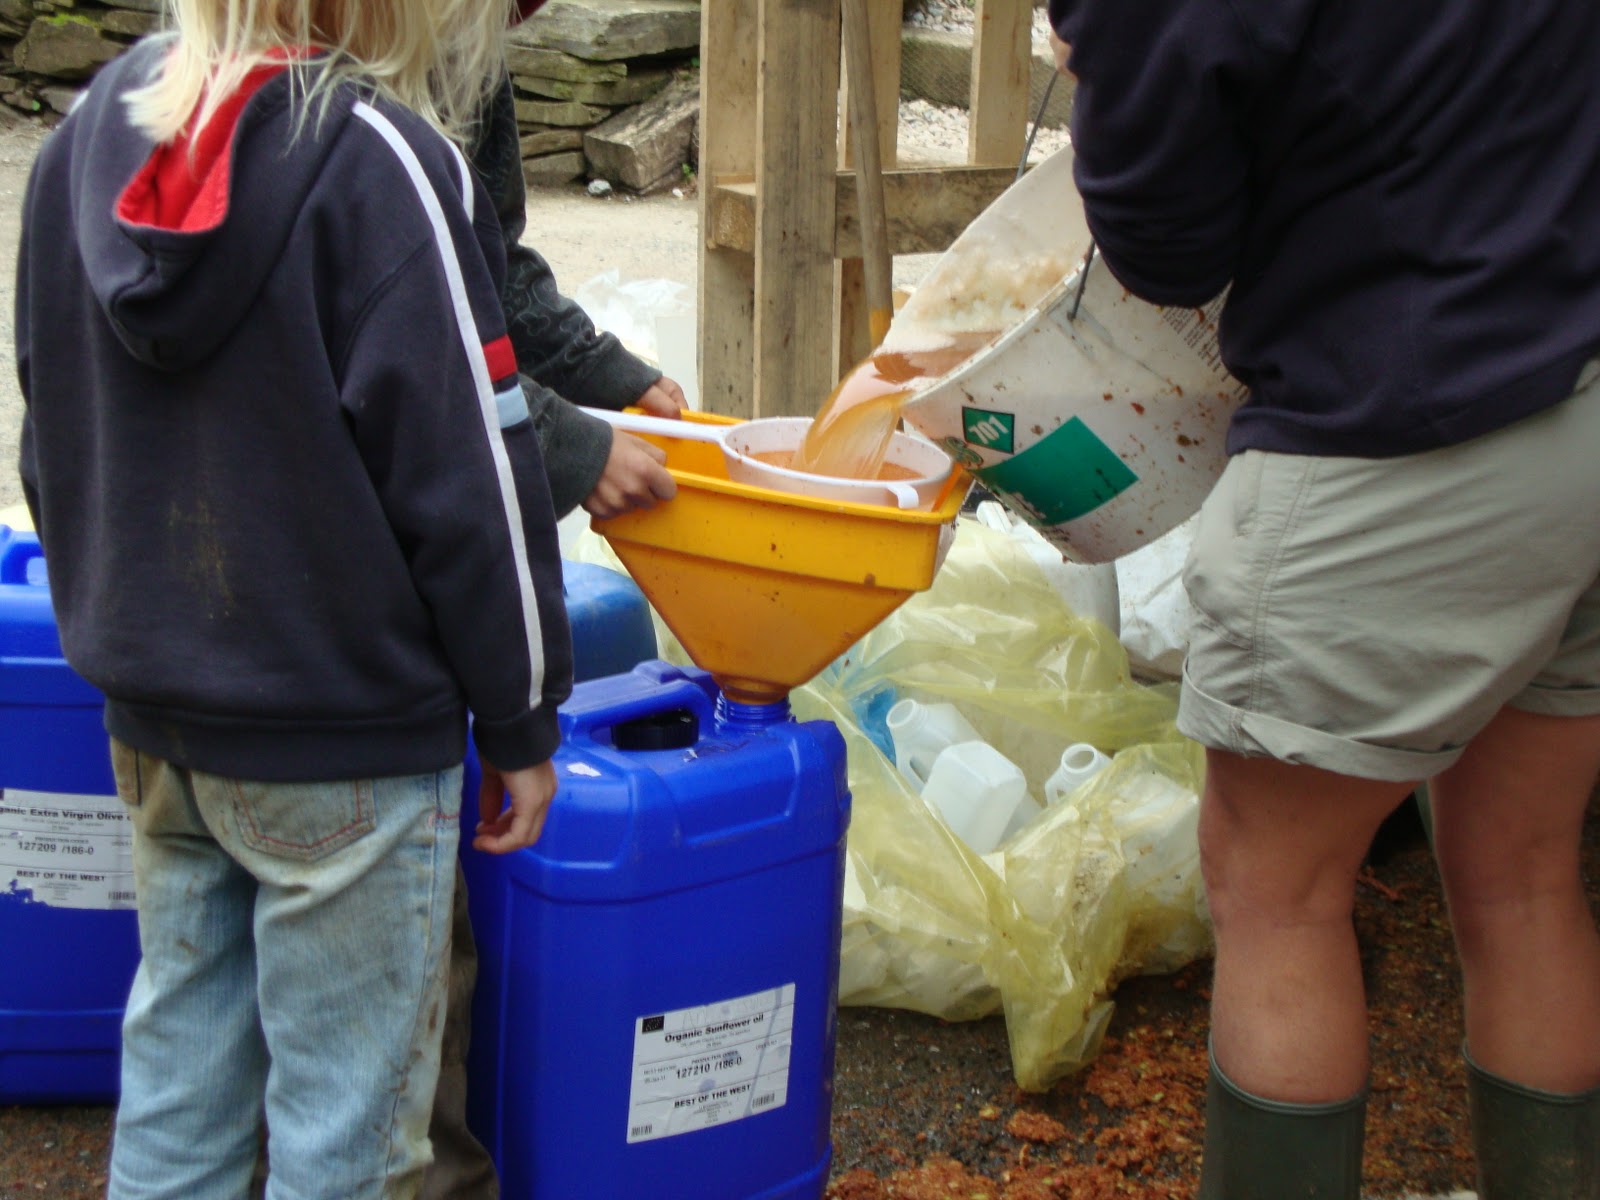
Cloudy amber streams forth, to be collected in waiting buckets...

...or in waiting cups. First press. Sweet nectar. Liquid gold.

Don't worry - there's enough to go round.

You may bring apples enough to fill jugs and barrels.

 Or you may only fill bottles.

The fire is lit; the cauldrons are filled.

 Crate by crate, immerse the bottles in the boiling water. Four minutes at 80C: Pasteurisation.

While the bottles cool, sweep, brush and wash away all traces of your day's work.

And if you can't be bothered with all that effort, you could always just buy a bottle or two.

Monday, 12 April 2010

recipe: pear and almond cake


This is a simple but delicious cake that won't leave you feeling too guilty for eating an extra-large slice. It's just perfect for serving at teatime after a big Sunday roast dinner.
2 oz caster sugar
2 oz light brown sugar
4 oz butter
2 eggs
1tsp almond essence
4 oz plain flour
1tsp baking powder
1 apple, grated
1 pear, grated
large handful of slivered almonds
Preheat oven to 180C/350F.
Cream sugar and butter together until light and fluffy. Beat in eggs one at a time. Add almond essence. Sift flour and baking powder and fold into wet ingredients. With a large metal spoon, fold in grated apple and pear.
Pour mixture into a greased and floured 8 inch cake tin and put into a pre-heated oven. After ten minutes, open oven door and pull cake out just enough to scatter slivered almonds over the top. Put back into oven and cook for a further 20 minutes or until sides of cake are pulling away from the tin and the top is golden.
This cake is lovely on its own, served with cream or topped with a glaze made from icing sugar and lemon juice.

Tuesday, 16 March 2010

little hands knead to keep busy...

I was reminded how much fun it is to make homemade playdough by this lovely lady's post (which included the recipe) the other day, so the girls and I got to it! Luckily, it's one of those recipes for which you are bound to have all the ingredients on hand.